
Hey! You probably found your way here because you’re curious about VIPKID.
VIPKID used to be one of the biggest platforms for teaching English online. The platform started in 2014 and offered English as a second language lessons to children in China.
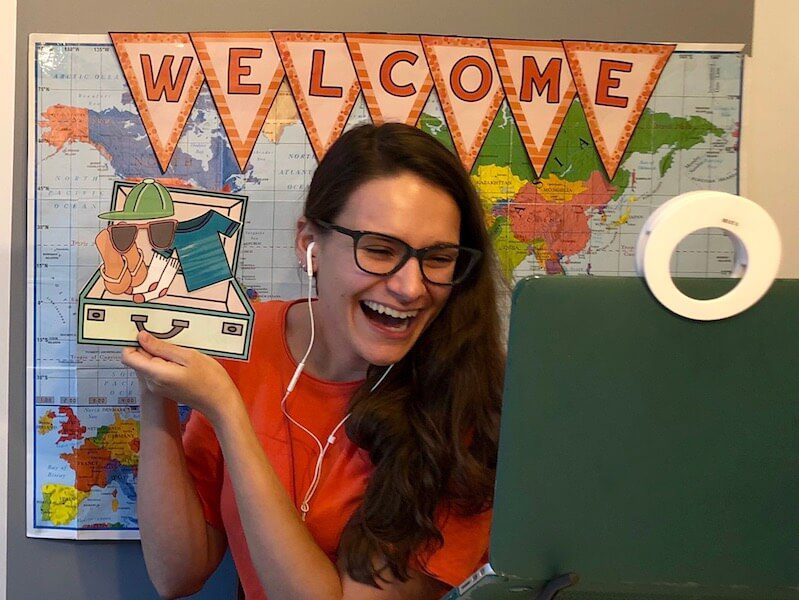
I worked with VIPKID for about four years, and I loved connecting with students and coming up with fun activities for my classes.
I also wrote about a million (okay, 16) blog posts about my experiences with VIPKID on this website to help other teachers get started – which is probably how you landed here.
Hi! Welcome!
In 2021 the Chinese government passed new laws that meant VIPKID (and nearly every other online tutoring platform) couldn’t offer classes in China anymore. A lot of companies closed or drastically changed their programming.
VIPKID is still around today, and now they focus on a worldwide student base. I don’t know much about VIPKID’s new hiring process or teaching details, and I’m not sure how easy or difficult it is to book classes these days.
If you’re still interested in applying, you can find the most up-to-date details on their website.
Looking for other online teaching options?
You can head here for posts about teaching online in general (even if you’re teaching another subject) or here for posts about remote work.
Thanks for stopping by, and wishing you all the best on your next adventure.


Great insights! It’s exciting to see how VIPKID is evolving in 2024. I’m particularly interested in the new teaching strategies you’ve highlighted. Thanks for sharing your experience, Nic!