I am instantly taken as I walk in the door. Rich and heavy, an olfactory invitation shrouded in warmth: le chocolat. It’s going to be really hard to wait until the end of class to sample my creations. Welcome to Belgian chocolate making.
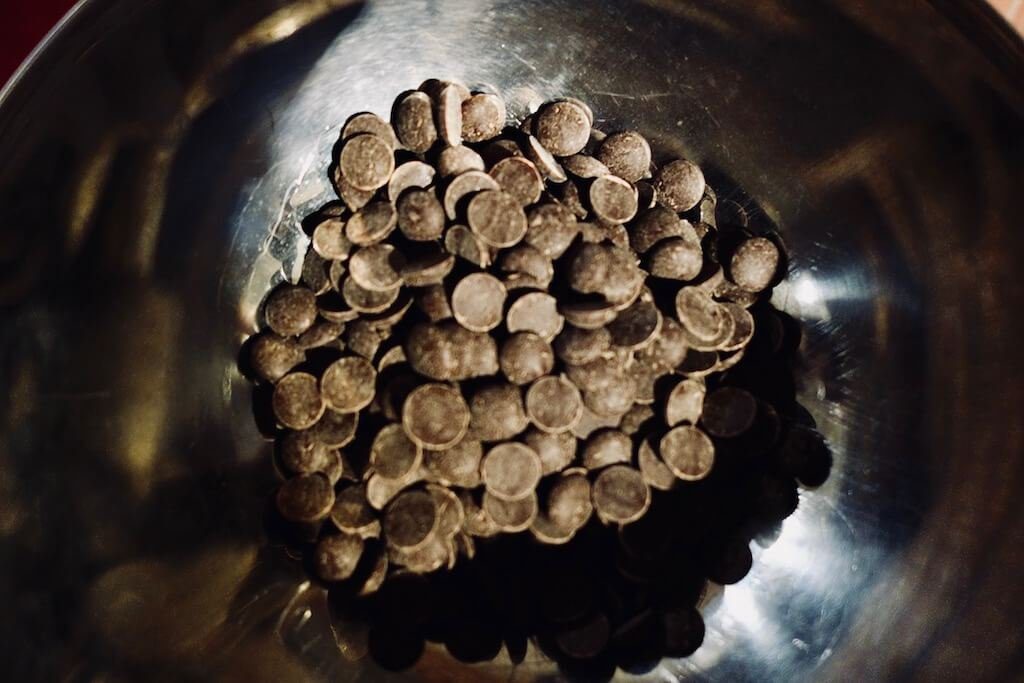
My eyes sweep the room. Swathed in red table covers and illuminated by orange-tinted light fixtures, it glows. A dance of warmth and color. In the middle of the room, six chocolate tempering machines happily melt chocolate atop a folding table dressed in cheap red plastic. Our instructor stands at the head of the table with aprons and an air of no-nonsense. She is petite with a friendly face and as soon as she begins speaking, we know she is serious about chocolate.
Introductions are brief. We all know why we are here and it is not to make friends.
We are in this course to learn the fine art of Belgian chocolate creation. Some of us are probably here to get out of the cold.
Our instructor explains in a quick french accent that we will make three kinds of chocolate today using only the finest Callebaut chocolate. The rich, sweet smell of melting chocolate is overwhelming. I hope there will be a part where we have to sample a spoonful of melted chocolate, you know, for quality assurance.
Now onto the delicate art of Belgian chocolate making.
First, the chocolate must be tempered. This, our instructor explains while holding up a high heeled shoe made entirely out of chocolate, will allow the chocolate to hold its smooth and shiny shape. Chocolate must first be heated then cooled slowly while solid chocolate pieces are added to get just the right temperature. For true artisans, there is usually some kneading on a marble slab involved. Luckily for us, we have handy chocolate tempering machines to take care of the technicalities.
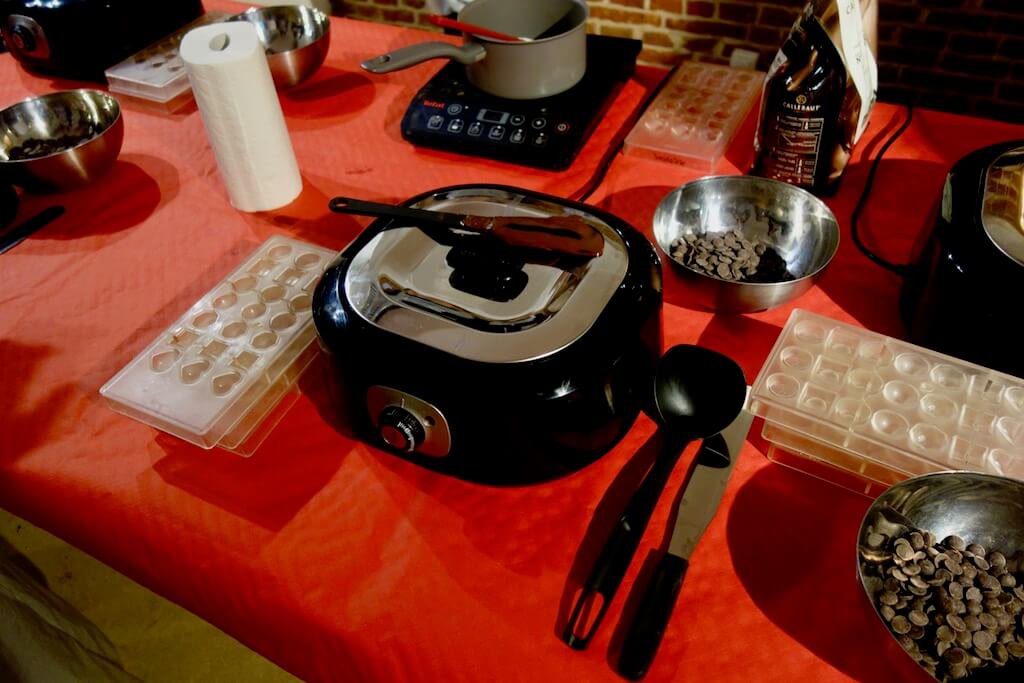
Large batches of freshly tempered chocolate tempt us while we nervously listen to our instructor’s complicated instructions for how to fill the molds. Each student receives one mold with twenty-one chocolate holes. That’s twenty-one chances to make a delicious chocolate to take home with you. Our leader stressed that you get to keep whatever you make. So if it’s good you get to take home some good chocolate. If it sucks, too bad for you.
Fill the mold
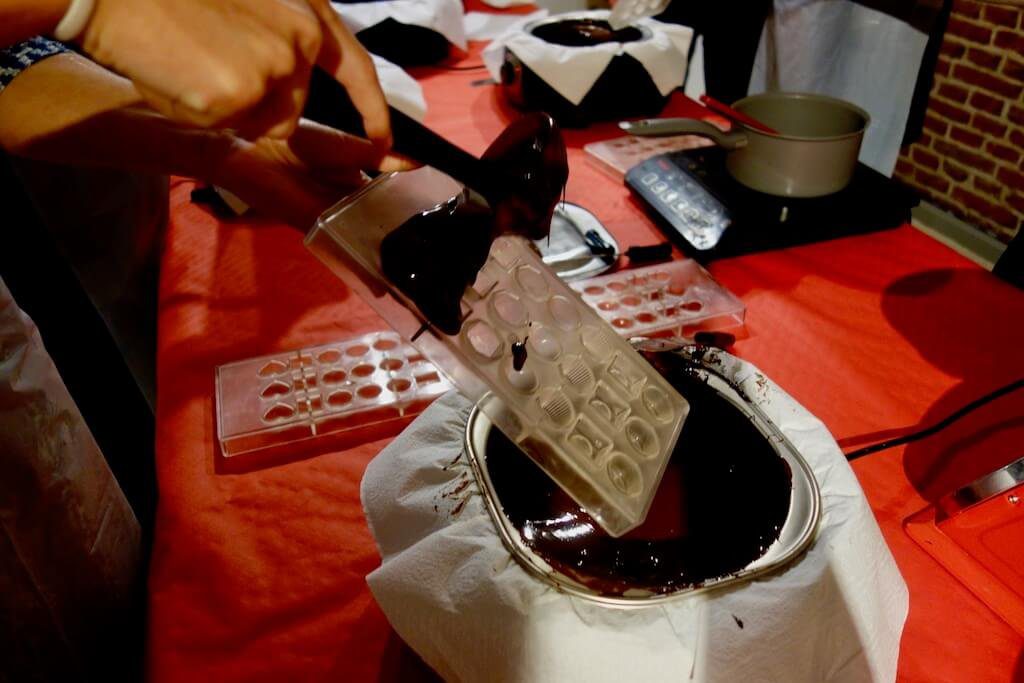
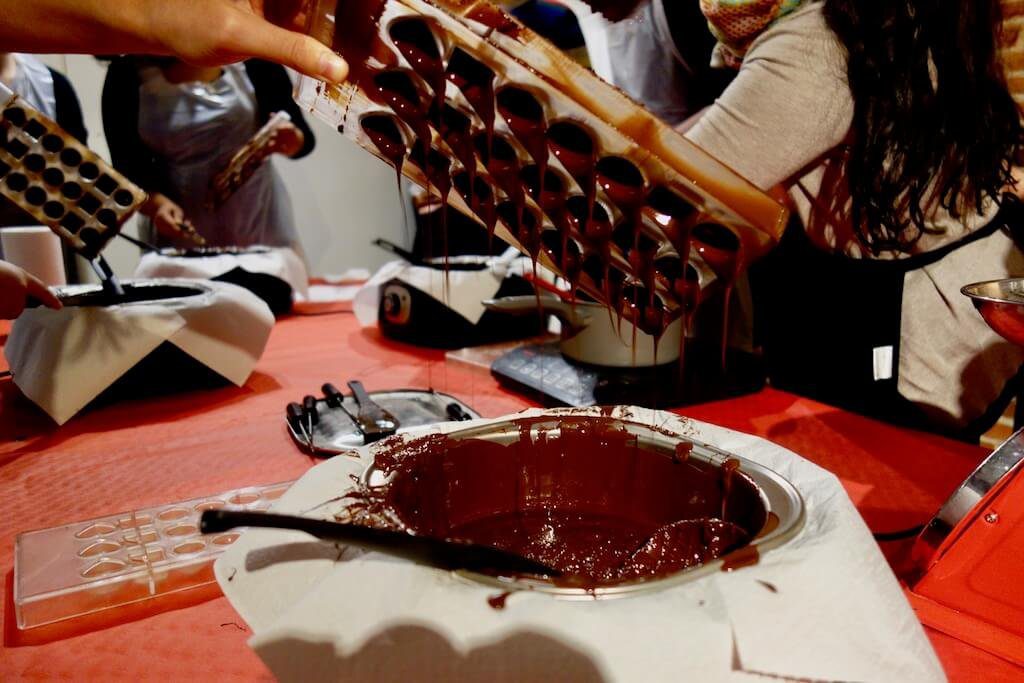
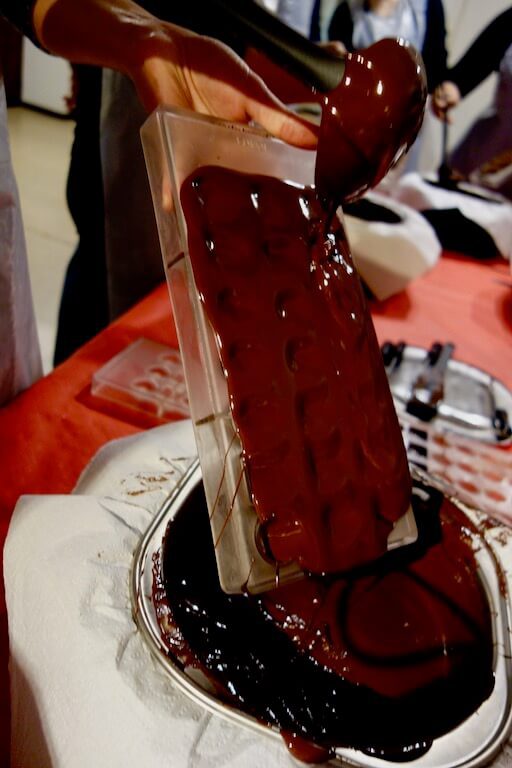
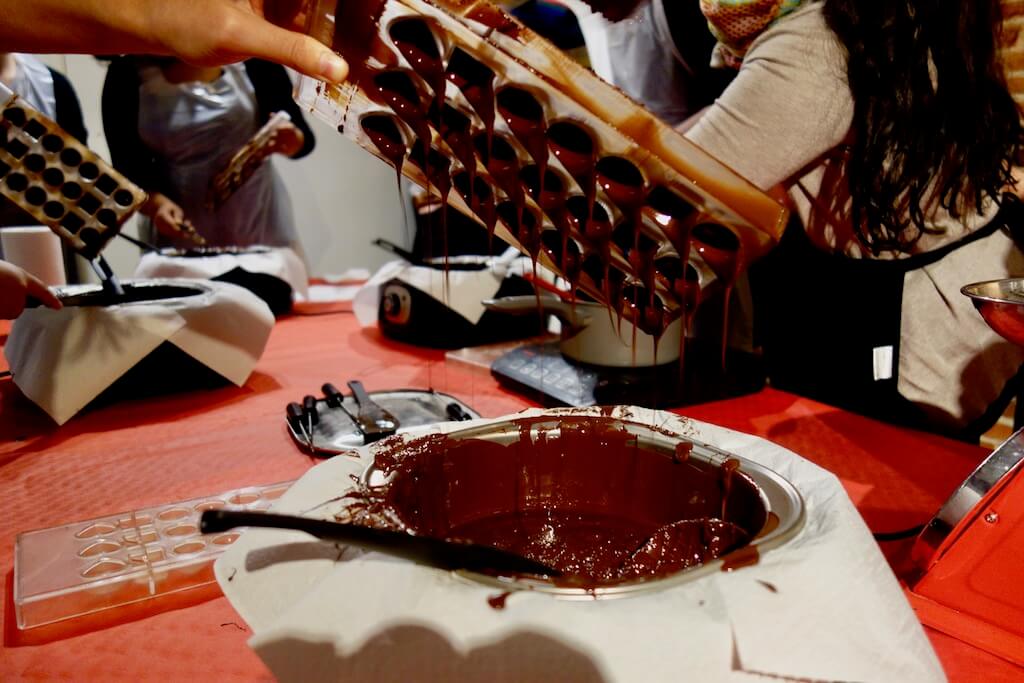
The molds must be held at a 45-degree angle to get an optimum fill. Pour a large ladle full of soft, ribbony chocolate into your mold and watch it cascade down. Like slow-moving lava, the chocolate glides into each valley until it spills over the edge of the mold, back into the tempering pot. Once filled, scrape the sides and the top with a metal spatula to get rid of unsightly excess chocolate, then bang bang bang the mold on the table to get out any air bubbles.
Banging the bubbles out of chocolate sounded a bit like the first day the percussion kids tried out their instruments in sixth-grade band class. “Don’t worry about the noise,” our instructor reassured us gesturing towards the ceiling and the floors above, “all these apartments are Airbnb’s.”
After watching bubbles rise to the top of the mold and burst, it is time to flip the molds and watch the holes empty out. The chocolate drips lazily out of the mold and forms little towers in the chocolate pot, like little drip castles on the beach. The molds go into the freezer for quicker setting, and we move on to chocolate creation number 2: the mendiant.
The Mendiant
Mendiants are pretty simple. Take a spoon, dip it in the chocolate, dollop the chocolate on wax paper, and sprinkle some mixed nuts and dried fruits on top. Since we aren’t given directions on how many we could make, I squeeze as many of these bad boys as I can onto my paper. Twelve perfect mendiants. Some of my classmates make a wimpy five or six. Do they not realize we get to take these with us at the end?
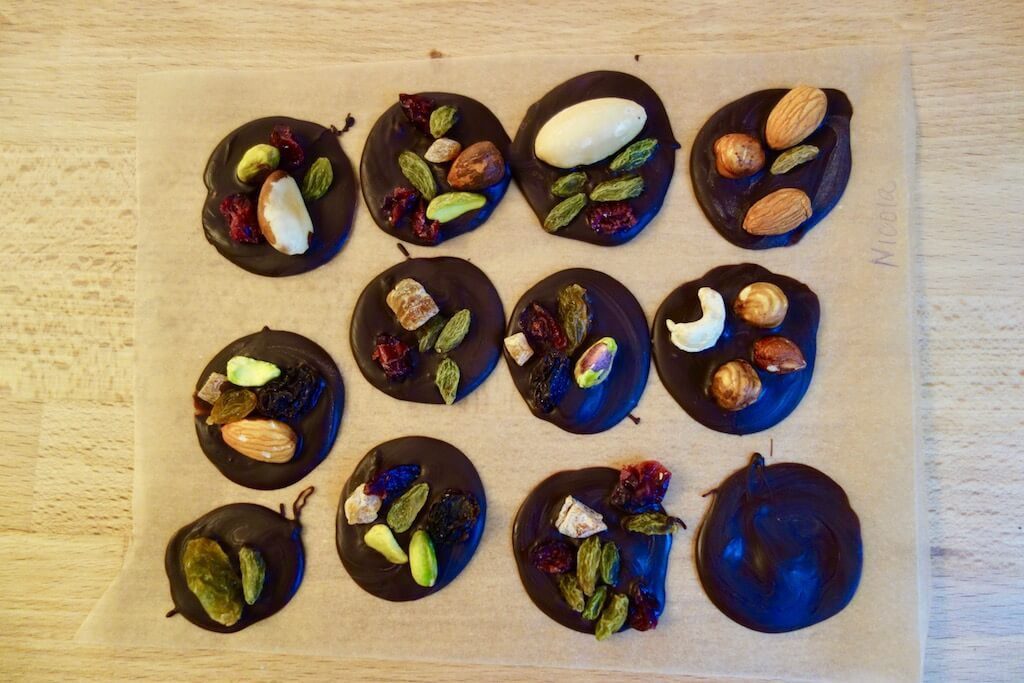
The nuts are the first to go from the communal bowl of toppings. Grubby chocolate fingers try to get the best pistachios and hazelnuts, fighting with each other in that polite passive-aggressive way strangers do. Since the fridge is almost full, the mendiants are stored in the next room with all the windows open. The icy breeze blows through the windows, far colder than any freezer. Sorry, Airbnb people…
Ganache
Ganache is made with melted dark chocolate, cream, honey, and milk chocolate. Mix it all together on low heat and funnel it into a piping bag. Pipe your pralines full of delicious dark filling. B don’t fill them too full or else you won’t be able to seal the chocolates later.
Close those pralines
To close the chocolates, another lava waterfall is needed, though by this time the chocolate tempering machines are looking much messier and less majestic. A ladle full of chocolate soup is poured over the tray at that oh-so-magical 45-degree angle and the thick river runs over all the divots. Bang – lightly this time – to remove air bubbles, and scrape the top and sides. I can tell where I overstuffed my pralines because as I scraped, likes of black ganache spread across the brown chocolate. Oh well. I’ll still eat them.
Hot chocolate and a trick with a blender
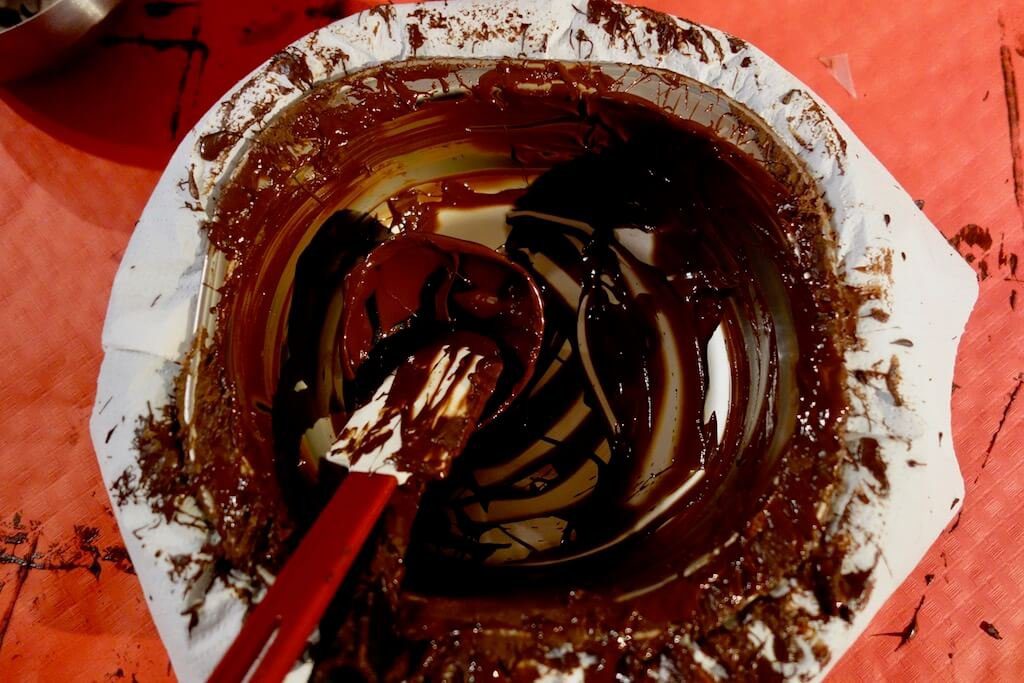
Into the freezer go the pralines and it’s time for the third chocolate creation – famous Belgian hot chocolate. There isn’t too much left to the imagination here = scoop the remaining chocolate from the tempering pots into a bowl and pour in some milk. Use an immersion blender to thoroughly incorporate the chocolate and serve warm. Somehow even the simple things are amazing. The blender is really what changes the game, making the hot chocolate thick and fatty and warming.
Gather the chocolate children
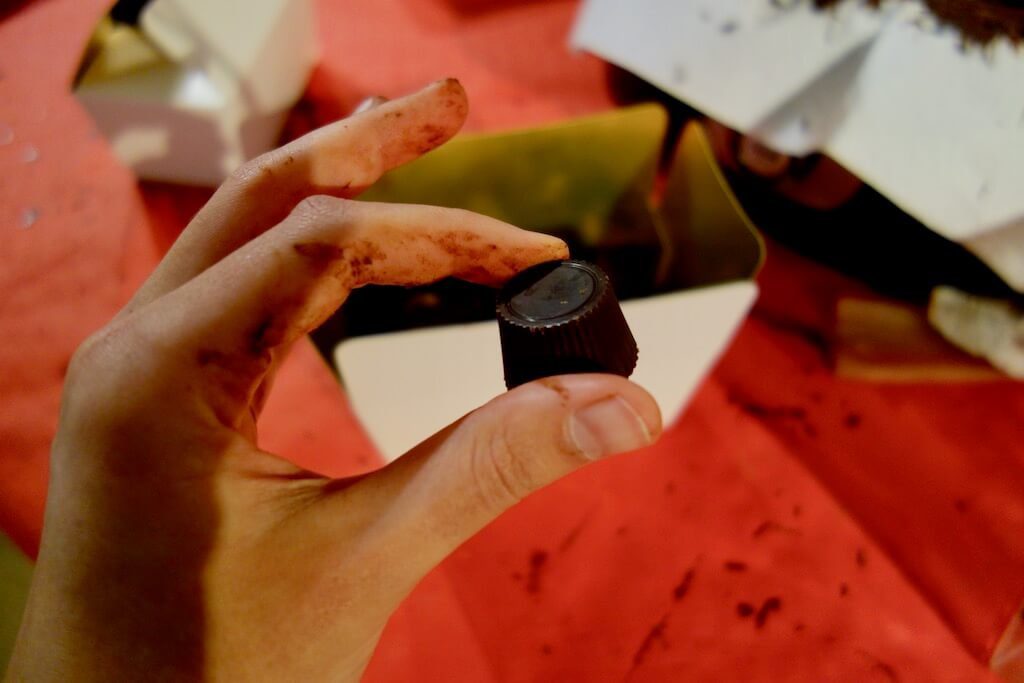
Pralines are ready to be extracted. Twist the mold back and forth and listen to the happy thud of chocolates raining down on that cheap red tablecloth. Lovingly gather your chocolate children put them in your to-go box. Fetch the mendiants and tuck them in too.
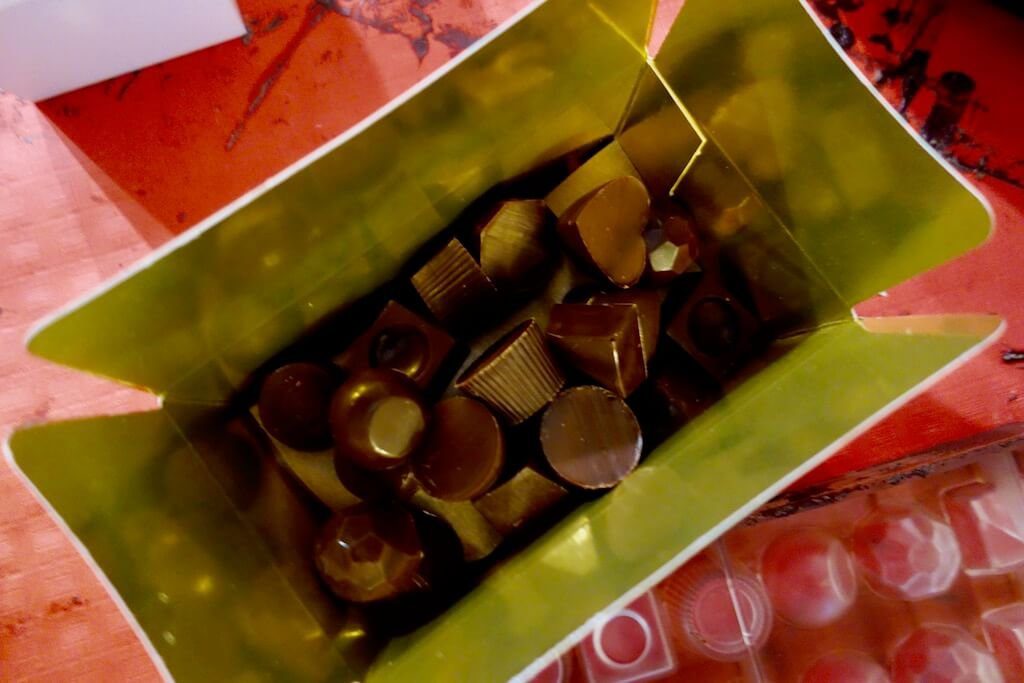
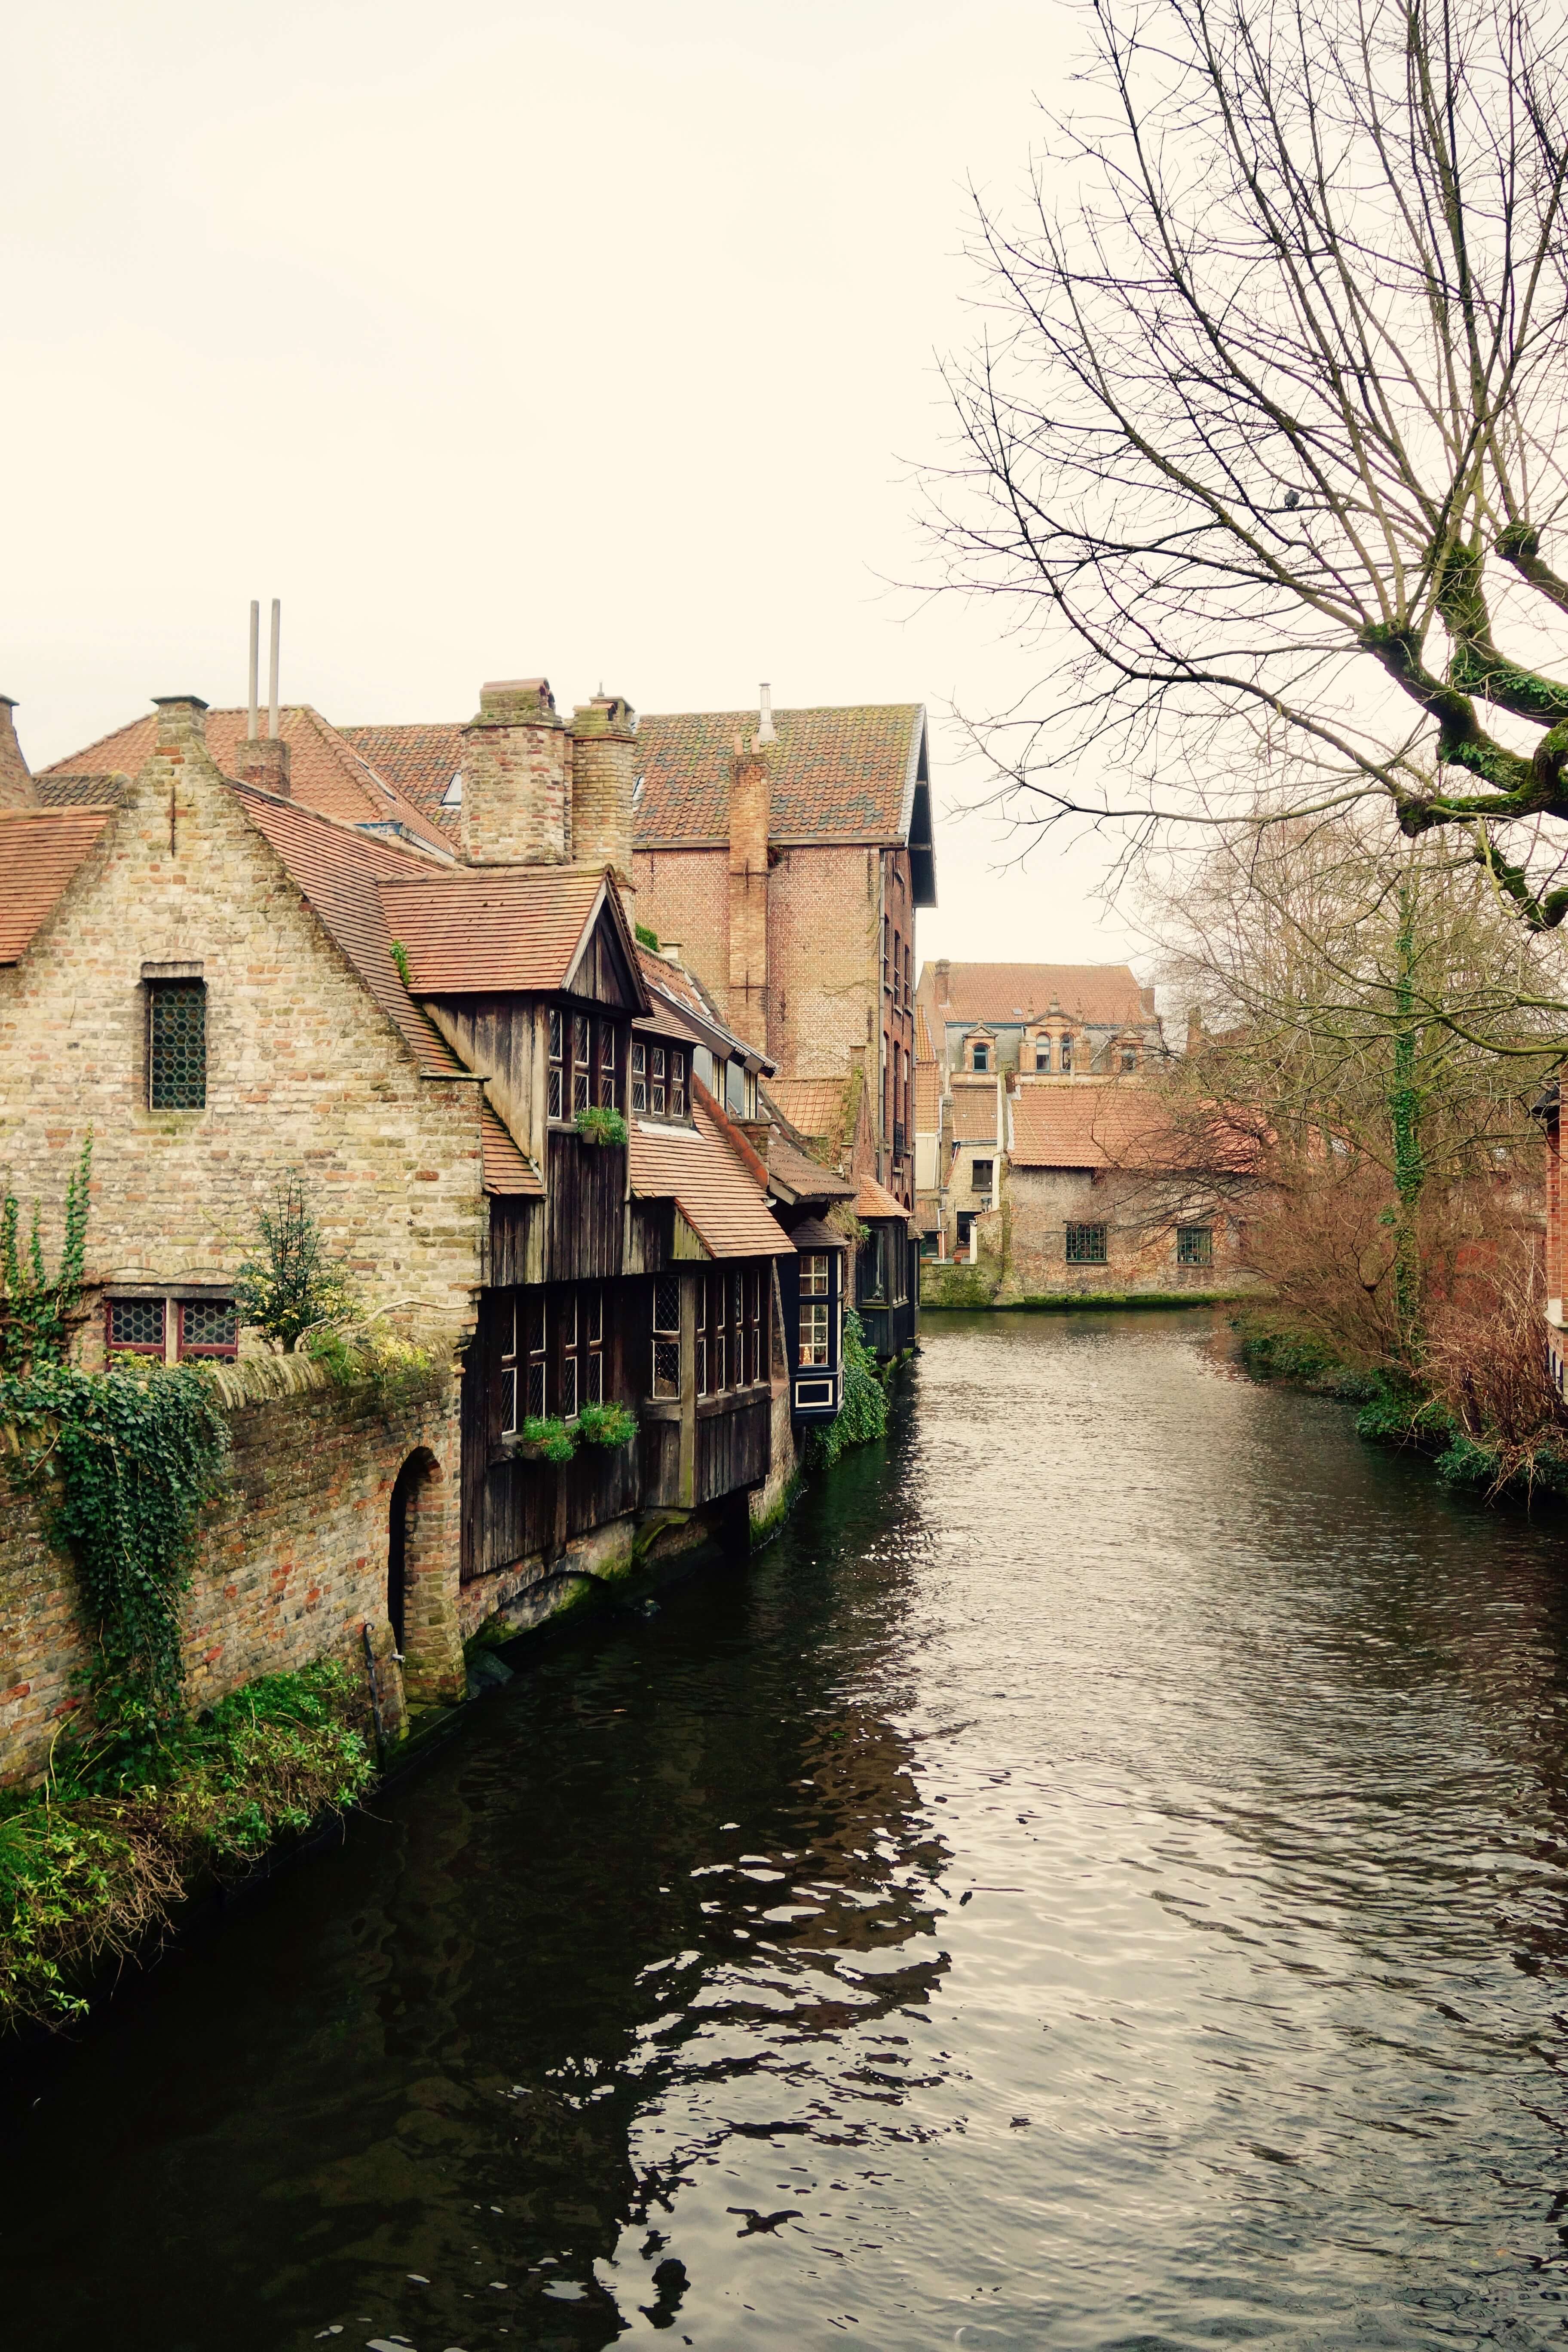
After the class, I step out into the cold cobbled Belgian streets with my fresh batch of chocolates. Salty. I need something salty. After six weeks in Brussels, I know where I’m going. Friteland has become a trusty old friend in the salty snack department. Turns out, frites and chocolates make a good team.



Well, thanks a Bunch. You know your Nannie is a recovering chocoholic. I inherited the condition from both sides of the family and it looks like I passed it to you. I am so sorry – but we can call it even if you teach me how to make Belgian chocolate – or better yet, bring me some!!
I’d be happy to! If we buy a chocolate tempering machine the sky is the limit haha!
This was a great post! Cookery classes is something I keep putting off but totally want to do! Especially anything involving chocolate!
I agree! When I started traveling, I had all these dreams of learning to cook the local cuisines everywhere I went. So far, I’ve learned chocolate 😉
YUM! I can smell chocolate now—and I think I would love staying in an Airbnb attached to a chocolate making studio!!