
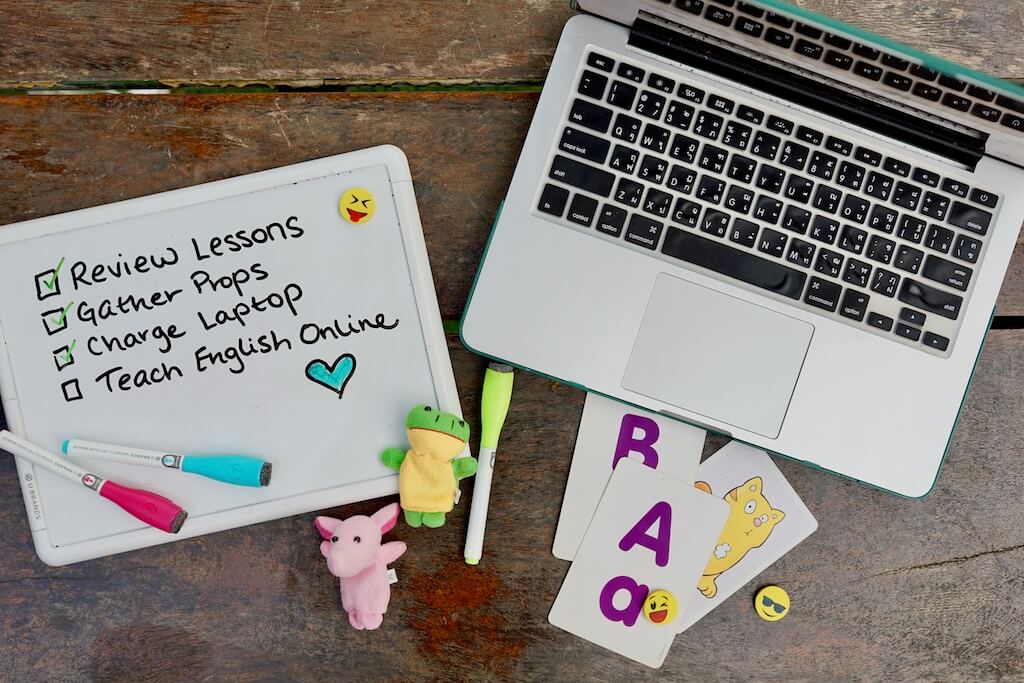
Looking for online teaching background ideas? You’ve come to the right place! This post covers exactly how to make fun, portable backgrounds for your online classroom.
My background is an important part of my VIPKID classroom setup and it’s a nice touch to make your online ESL classroom more interesting to your students. This provides a more consistent experience for my students and I love strategically using my background as a teaching tool throughout the class.
Fire up your glue guns, team, we’re about to get crafty!
4 Online Teaching Background Ideas
#1 Fantastic Felt Background
This was the first VIPKID background I used when I started teaching. For this background, we’ll be using a large piece of lightweight felt as the base and fun felt letters as decorations. This backdrop is great for portable classrooms because you can fold it up to a small square and tuck it away in your bag.
Supplies needed:
- A 3’4” by 2’6” piece of white felt
- A hot Glue Gun
OR Fabric Glue
- Ribbon
(I use 1.5 in thick)
- Large Felt letters (I use 4in tall)
- Scissors
- Command Poster Hanging Strips
I started with a piece of felt from a crafting store. Most fabric stores like Michaels and Hobby Lobby have felt in their fabric sections. I think Super Walmart even has a fabric section with felt.
It comes in a big bolt but you can just buy a yard or so and it will be plenty. I cut the felt to be 3’4” by 2’6” which has been a good size for covering most of the wall that is visible in the camera.
I used a hot glue gun to glue 1.5in thick orange ribbon around the edge of the felt. If you use the 2’6″ by 3’4″ dimensions like I did, you will need 11’10” of ribbon.
I bought 4 in tall felt letters to spell out VIPKID which I also glued on. You can write the name of your online teaching company, or something broader like “Welcome” or your teacher name. You can also use fabric glue if you don’t have a hot glue gun. Both the ribbon and felt letters can be found in most craft stores.
Make sure you use plenty of glue along the edges of the ribbons and letters so that they don’t droop when you hang the felt on the wall. Hot glue dries in minutes but if you are using fabric glue, allow it to sit for 24 hours before handling.


Since the felt is so light, this VIPKID portable background can be held up with Command Poster Hanging Strips. Just the small ones are fine and they don’t mess up the wall. You can find them on Amazon or at any major store in the home improvement section.
Hanging the felt backdrop can be tricky. Once I get my teaching area set up with the table and chair I’ll be using for class, I’ll open the front camera for Facetime/Skype on my laptop. This will show pretty closely what the students will see when you are in the virtual classroom.
Using the front camera as a guide, I estimated where to hang the felt with the command strips. Usually, I try to put the words an inch or so above my head since the camera space is limited. I also try to make sure the letters are centered in the camera.

#2 Luxurious Lamination Portable Background
For this portable background, we’ll be using several laminated images to create a collage on the wall behind you. You can use all kinds of decorations for depending on the age of your students and subject area you teach.
Supplies Needed
- Color printer or construction paper and markers (if drawing images by hand)
- Laminator (If you don’t want to buy your own, you can take your images to an office supply store and use theirs!)
This option is great if you want a few different looks for your VIPKID classroom background. You’ll create some individual decoration pieces that can be arranged on a blank wall behind you, like a gallery wall.
Start by drawing different educational images like alphabet letters, color charts, or animals. You can also print out graphics like world maps, country flags, calendars, and number charts. Unsplash is a great place to find free-use images. Remember to use color so they are nice and pretty!
If you want your images to last more than one use, laminate them before attempting to hang them with command strips. If you don’t, they will probably tear when you take them down.
My fantastic mama is a preschool teacher with her very own laminator, so I borrowed hers to make my decorations. If you don’t have the luxury of your own private laminator (the teacher equivalent to owning a yacht), you can laminate your images at Staples, Office Max, and other office supply stores.
This option works best if you have a blank wall and just need to quickly make it “kid-friendly” with some color and visuals! This is also a good fit if you’re a creative type who wants to mix up their learning space from time to time.
To hang the pictures, set up your table and chair how they will be arranged during class and turn on your front-facing camera.
Sit in your chair and see where you have space around your head to hang your pictures. I usually use four pictures, two on each side of my head, for an interesting but not overwhelming classroom.


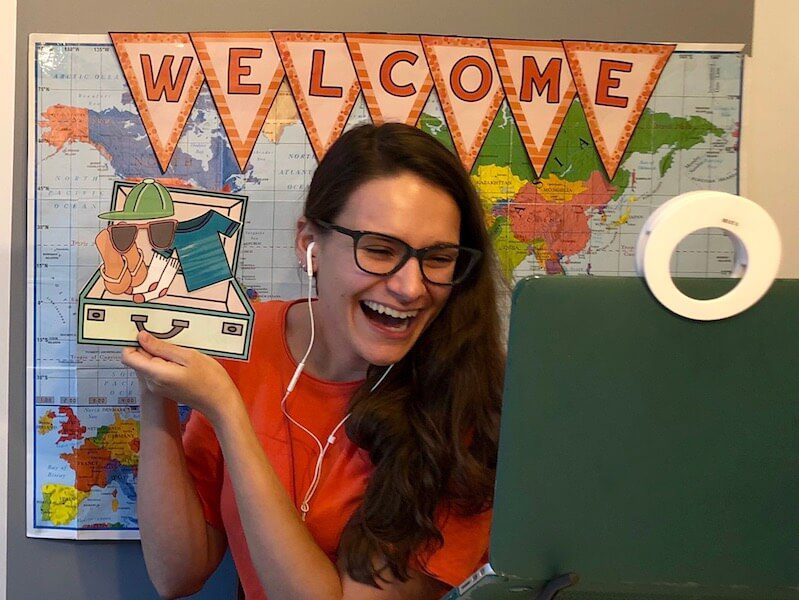
Map Background
This option is my most recent VIPKID background and I’ve been pleased by how low-maintenance it is!
I bought this map on Amazon and its held up surprisingly well for being paper! One tip to make your map last longer is to add thick packing tape to the back corners of the map where you’ll be attaching the command strips. This reinforces the corners and makes your map more durable. Done.


Using a paper map has been one of my favorite online teaching backdrops so far. It’s so simple. It looks clean on the camera. And it’s the lightest and smallest of the options listed. I can also spruce it up from time to time with banners like these!

How To Use A Digital Background
Many teachers choose to use a digital background because it’s easy to customize and can add a fun interactive element to your classroom. The easiest way to make a digital background for your VIPKID classroom is through a tool called ManyCam.
Supplies:
- ManyCam
- Green Screen
- Digital background files
To start, you’ll need to buy a subscription to the ManyCam software. They have a free version but in order to get the “Green Screen” feature, you’ll need to purchase a Studio plan or above.
Once you’ve purchased it, you’ll be able to download it onto your computer.
Hang your green screen or green sheet on the wall behind you. It should cover the entire area that your camera can see.
Open ManyCam and you’ll be able to see what you look like in the webcam. In the right-hand toolbar, select the option called “Chroma Key.” Toggle “Chroma Key” on to activate it.
Now, click the drop-down arrow next to “Select Background Image.” Choose “custom background” and this will let you upload an image from your computer.
Choose your VIPKID digital background file and upload it.
You’ll still see yourself and your green screen, so you need to select the “Pick Background Color” dropper to click all the areas that are the color of your green screen. Click around until you’ve selected every bit of that color that you can.
Like magic, your image will fill in behind you where the green screen once was!
If you need more help setting up ManyCam and using Chroma Key, this guide can has step-by-step instructions!
To display your digital online teaching background during your VIPKID class, sign into the VIPKID teacher portal then enter the classroom for your upcoming lesson. On your thumbnail, click the little gear to open the “settings.” Select Camera and choose “ManyCam” for the input.
Considerations When Using Digital Backgrounds
There are a few things to keep in mind when using VIPKID digital backgrounds.
First, you’ll need to make sure your computer is fast enough and powerful enough to run both VIPKID and ManyCam at the same time. Both of these systems are feature-heavy, and if you have a slower computer, you might experience a lag.
Second, you should always have a backup plan in case your digital background glitches. Many teachers choose to hang their green screen over a blank wall or even a physical background incase they face technical issues. It’s important to have “Plan B” ready for action if your tech decides not to cooperate one day.
Personally, I don’t use digital backgrounds because I like the simplicity of physical backgrounds. I don’t want to introduce too much fancy tech stuff that could slow down my computer but many teachers do use these systems and swear by them, so it really comes down to personal preference.
Online Classroom Background Ideas: Final Thoughts
If you want your online classroom to be as lightweight and minimalistic as possible, I’d recommend choosing one of the simple ideas above and embellishing it with printable props as needed.
What are your favorite VIPKID background ideas? Let me know in the comments!


Great tips! Thank you so much for your in depth posts!
Happy to help!! 🙂
Hi, what do you use to stick your props onto the felt with? Or do you just leave it as it is without?
Hi! I used hot glue to attach the permanent letters and ribbon to the felt. If you wanted to add something temporarily like a reward system, usually felt will stick to felt on its own. A little velcro could also help give a better hold and you only need to add the prickly side to whatever your hanging since the felt background works like the soft side. 🙂
Hey Nic,
What do you do or recommend as a reward system for your current travel setup with the simple map background.
Would you have the reward system posted up on the background behind you as well, or do you do something different?
I have almost all intermediate kiddos so we play tic tac toe on the last slide at the end of class. For younger students I have a drawing of a fishbowl and expo markers and I add fish to the bowl 🙂
What a great idea! Thanks for sharing.
I didn’t plan on traveling when I signed on with VK but as it turns out that’s happening quite a bit so this is really great info. I was going without while on the road but my wife has kindly agreed to put this together for me. She will sew the ribbon and letters on the background which she says will probably work too.
That sounds like a great plan! So glad this post helped you and I hope you have a great time traveling and teaching! 🙂
I love this so much! Thanks for the awesome ideas! I just recently became an online ESL teacher and am also an avid backpacker! I’m currently at my parents’place, quarantining, while the pandemic plays out and I built a teacher background with poster board. However, as soon as the borders open again I’ll be back at my job in Thailand and needed an idea for a light-weight and small teacher background. I hadn’t even thought of felt!
(Also major benefit that both my mom and big sis are teachers and have had a plethora of free teaching supplies for me here… including a laminator!! haha)
Hi Laura! That’s great!! I have a teacher family too and I love being home with laminator access!! Haha! Happy travels 🙂